AWS China, Big Data and IoT (PART 2)
Following my previous post, In this post I will try to provide a step by step guide to build a sample solution of an infrastructure for IoT in China.
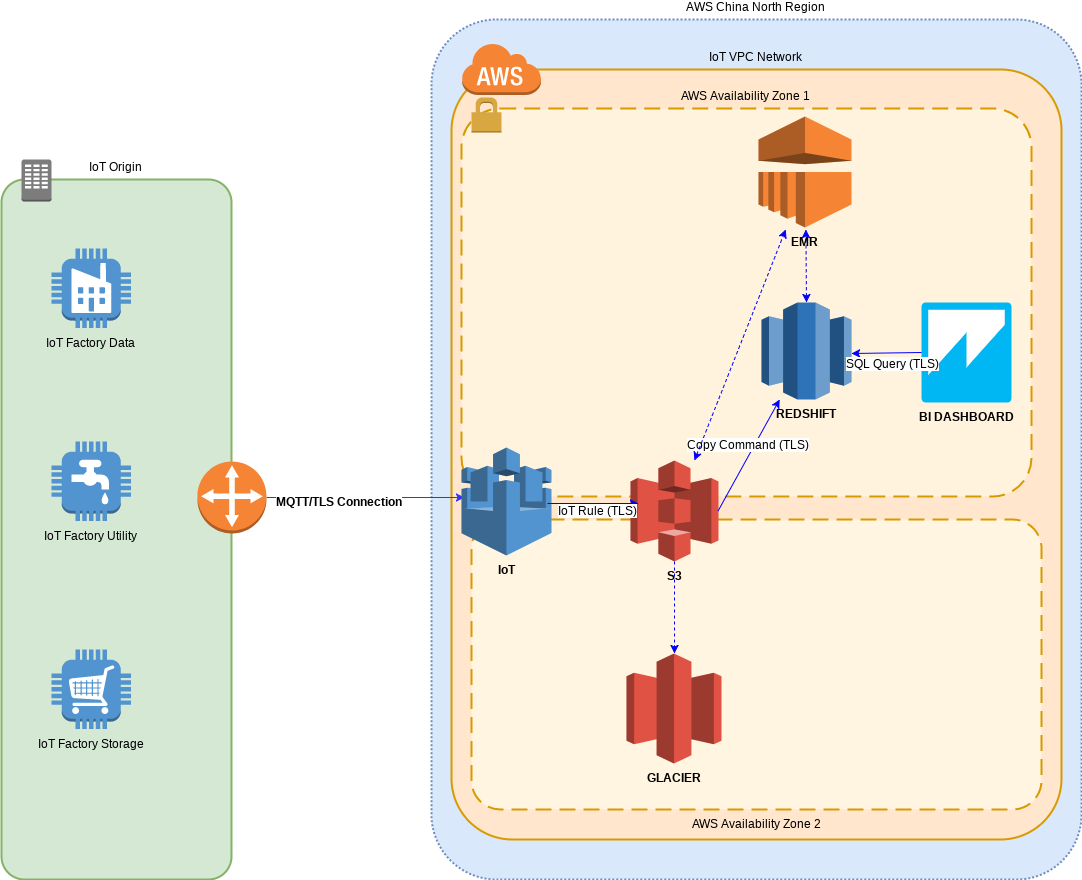
AWS Service Overview
AWS IoT is a managed cloud platform that lets connected devices interact easily and securely with cloud applications and other devices. AWS IoT can process and route billions of messages to AWS endpoints and to other devices reliably and securely.
Amazon S3 is an object storage built to store and retrieve any amount of data from anywhere – web sites and mobile apps, corporate applications, and data from IoT sensors or devices.
Amazon Redshift is a fast, fully managed data warehouse that makes it simple and cost-effective to analyze all your data using standard SQL and your existing Business Intelligence (BI) tools. It allows you to run complex analytic queries against petabytes of structured data, using sophisticated query optimization, columnar storage on high-performance local disks, and massively parallel query execution. Most results come back in seconds. With Amazon Redshift, you can start small for just $0.25 per hour with no commitments and scale out to petabytes of data for $1,000 per terabyte per year, less than a tenth the cost of traditional solutions.
The last component of this architecture will be a Dashboard to analyze the data on Amazon Redshift , since my contractor is a partner of Qlik I will use one of the Qlik solutions for this sample, but any other of the many BI solutions out there would fit too.
In this post, to send data to the IoT service, I will use a Python script from the AWS Simple Beer Service (SBS) on a raspberry pi, this script will send sensor outputs such as temperature, humidity, and sound levels in a JSON payload. You can use any existing IoT data source that you may have. The protocol to connect the raspberry and the IoT service will be MQTT which has become the industry standard for IoT communication.
After that, the IoT Rules engine will be configured to store the stream of data into S3 and this data will be periodically copied into Redshift, from there, and using Redshift full PostreSQL compatibility, we will configure a BI tool to show us a Dashboard using SQL queries. Simple right?
Send Sensor Data to IoT
In order to succesfully run the Python script, we will need the raspberry to have access to AWS CLI credentials and boto3 installed.
Myself I am using a raspberry pi but by no means this is a requirement, you can use your laptop or any computer you want.
When you have everything ready, download and run the following Python script:
https://github.com/awslabs/sbs-iot-data-generator/blob/master/sbs.py
The script generates random data that looks like the following:
{"deviceParameter": "Temperature", "deviceValue": 33, "deviceId": "SBS01", "dateTime": "2017-02-03 11:29:37"}
{"deviceParameter": "Sound", "deviceValue": 140, "deviceId": "SBS03", "dateTime": "2017-02-03 11:29:38"}
{"deviceParameter": "Humidity", "deviceValue": 63, "deviceId": "SBS01", "dateTime": "2017-02-03 11:29:39"}
{"deviceParameter": "Flow", "deviceValue": 80, "deviceId": "SBS04", "dateTime": "2017-02-03 11:29:41"}
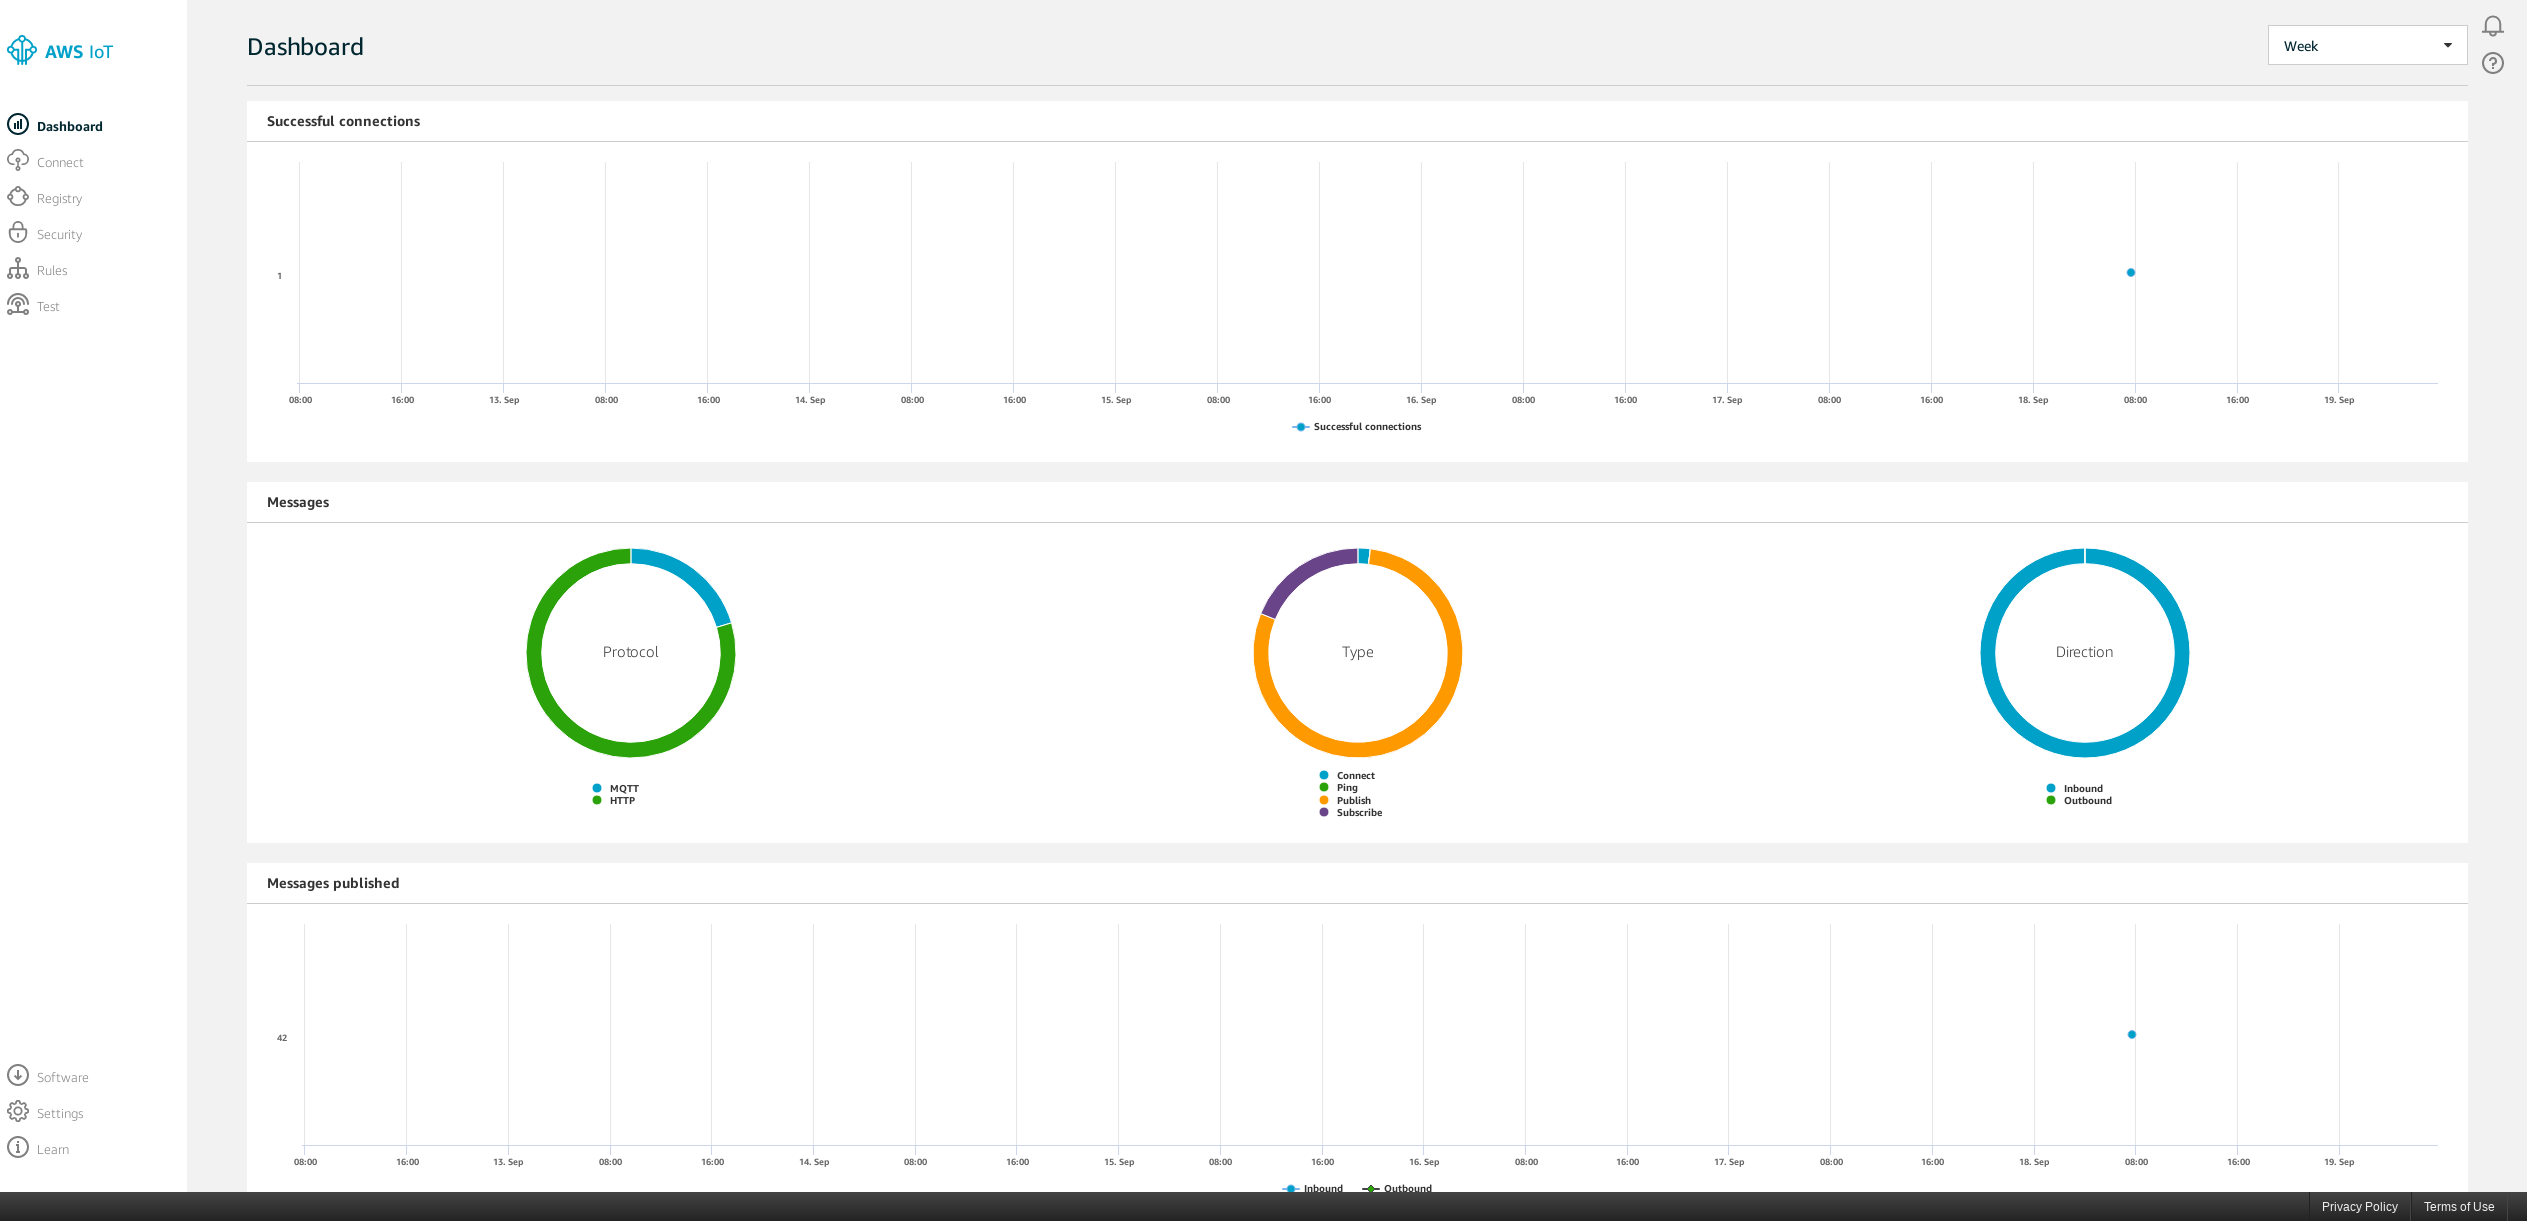
After a few minutes, the Dashboard of the IoT service should start being populated with Data about the received messages:
IoT Rule to Store the stream into S3
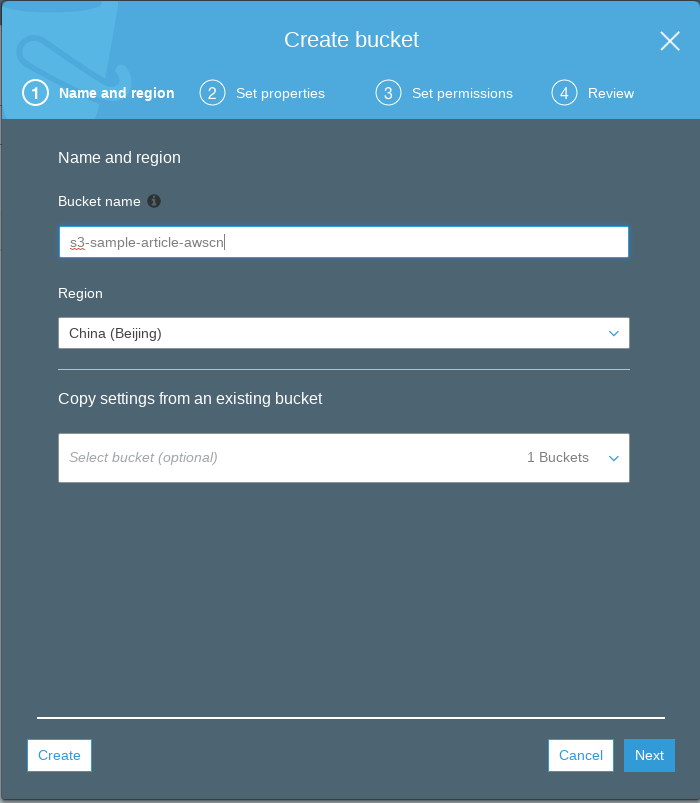
The first thing we need in order to Create a rule from IoT to S3 is to create an S3 Bucket.
Create an S3 Bucket
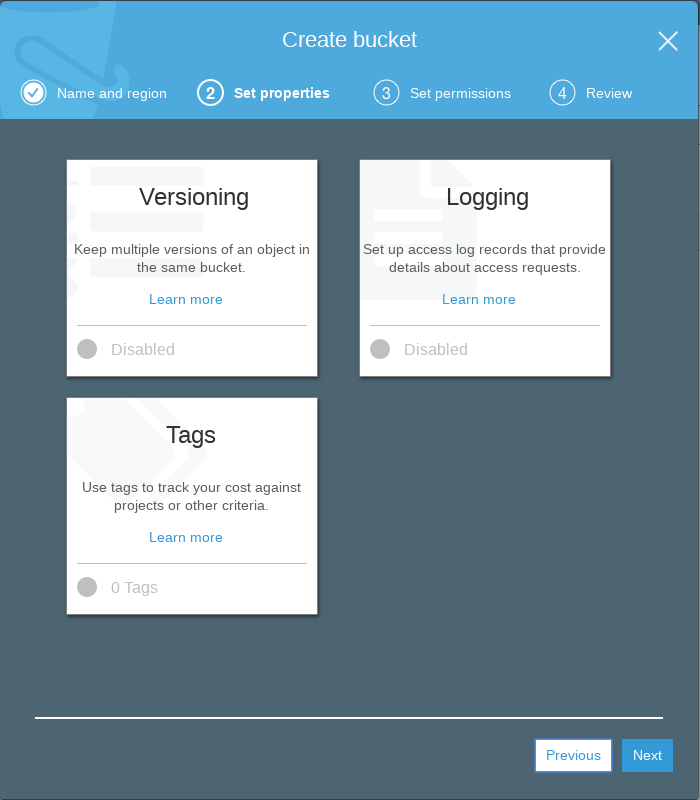
On a production installation I would surely create a TAG in this second step, to better control the invoicing.
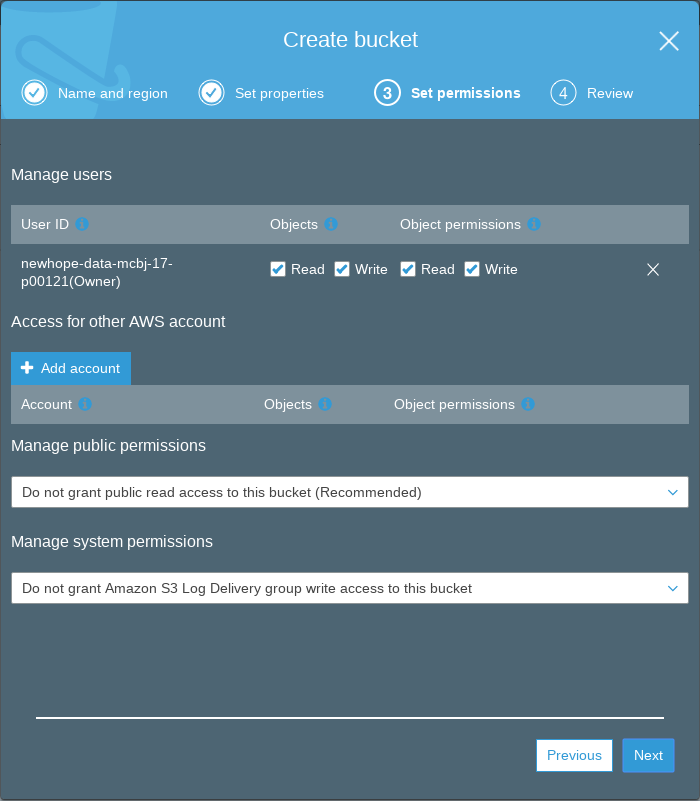
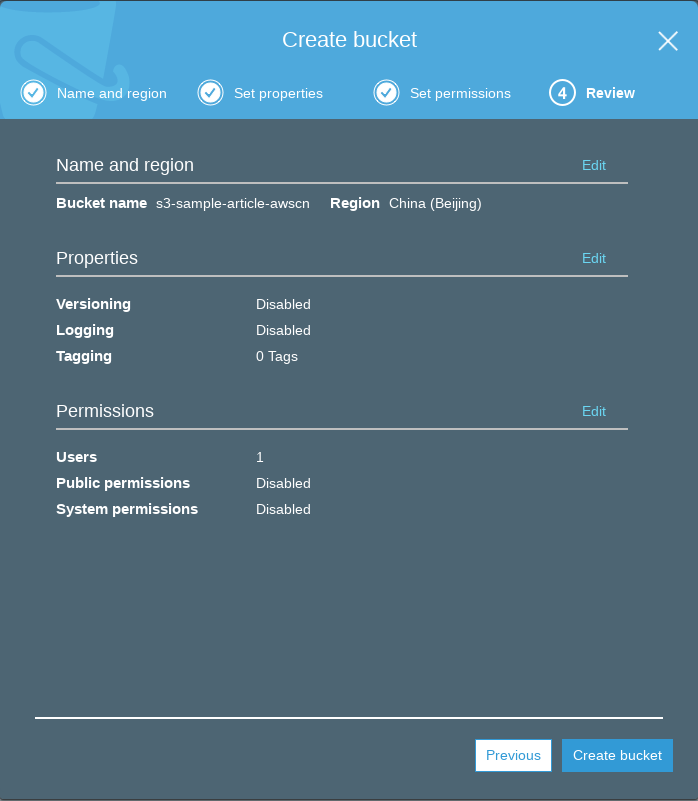
Create the Rule
Go to IoT, then Rules, and create new rule.

The AWS Console will prompt you for the Name of the rule and a Description.
Then we will define the Rule Statement with the following Values:
Attribute : *
Topic Filter : /sbs/devicedata/#
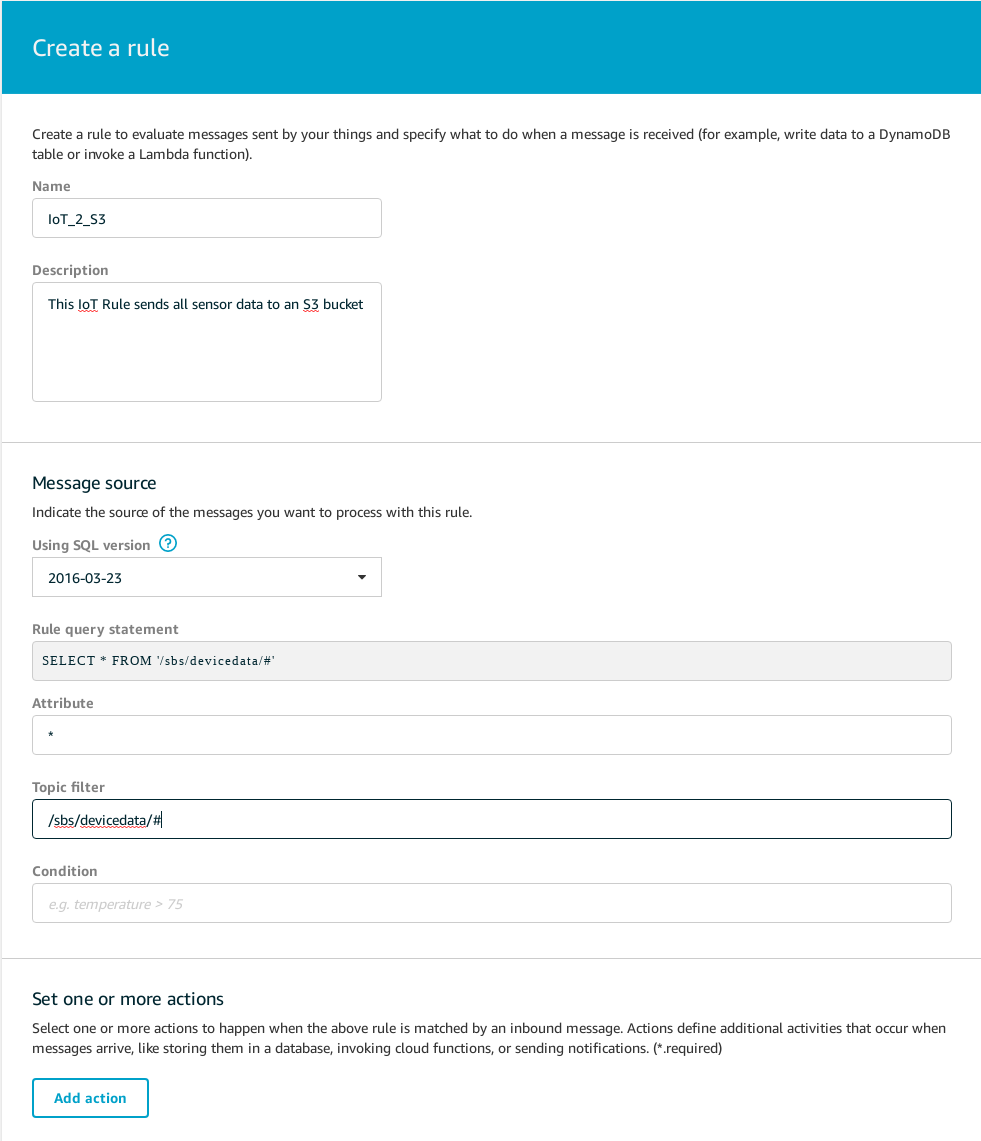
Then Click on “Add Action”.
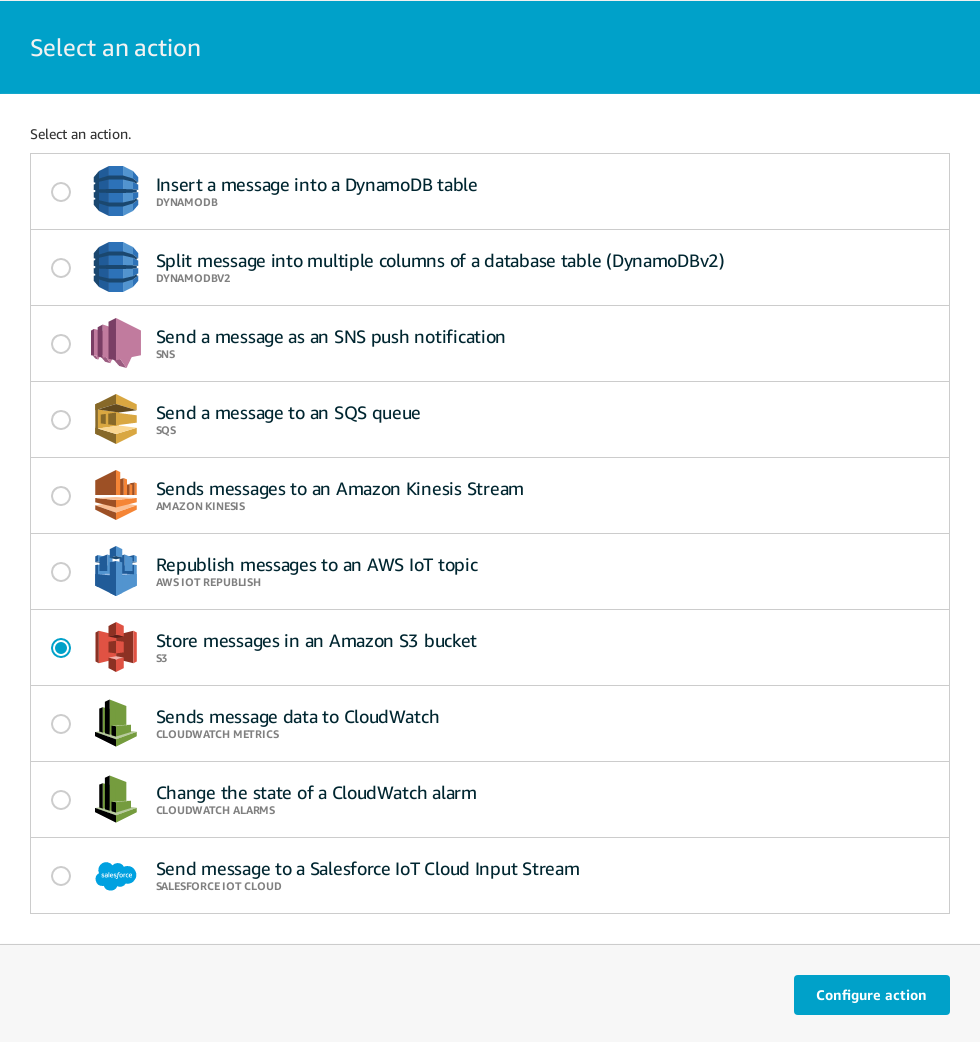
Now Click on “Configure Action”.
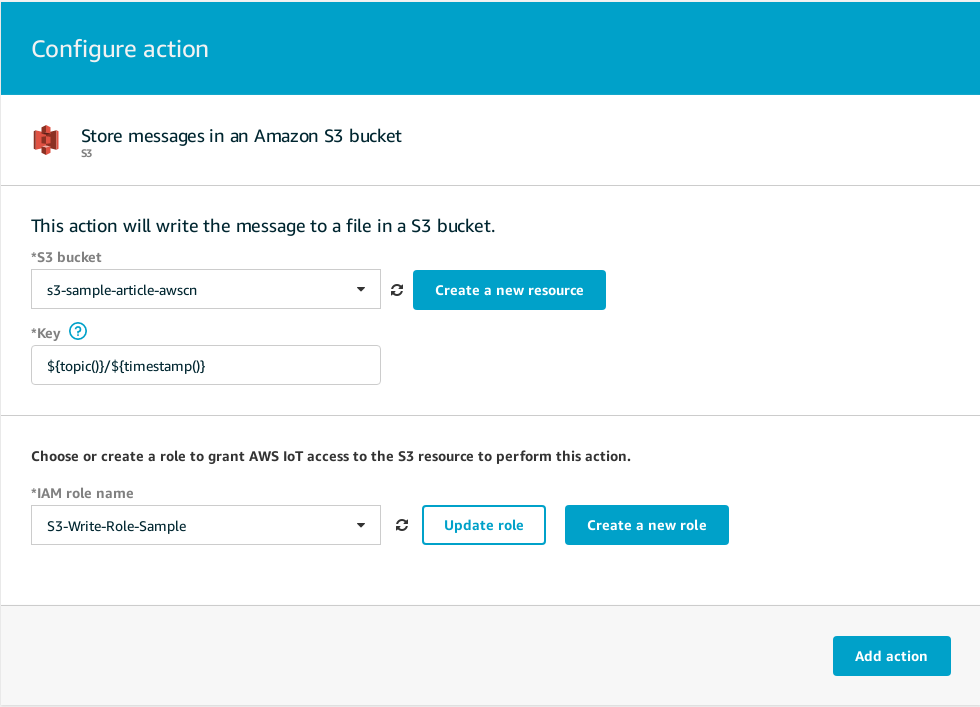
In this step we had choosen the S3 Bucket we had previously created, and defined a key for it, the key is the path to where the data is written, the key we used will respect the MQTT topic while ensuring the files don’t get overwritten by using the Timestamp as it’s filename, you can find more information about the key and other aspects related with IoT S3 Rules in the following documentation. To end this step, we generate a Role to write on the S3 Bucket.
With this the rule will be already defined and we can click on Create rule.
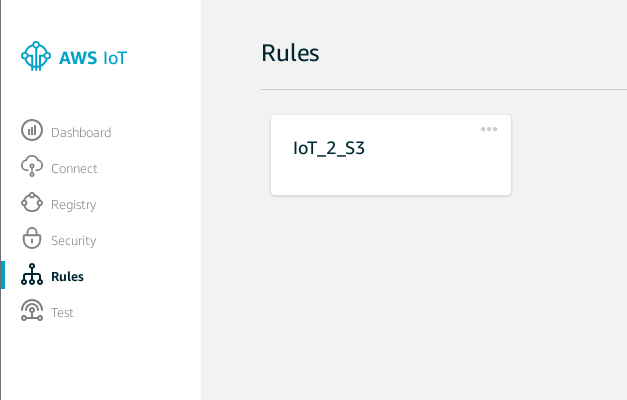
Check that the rule is working
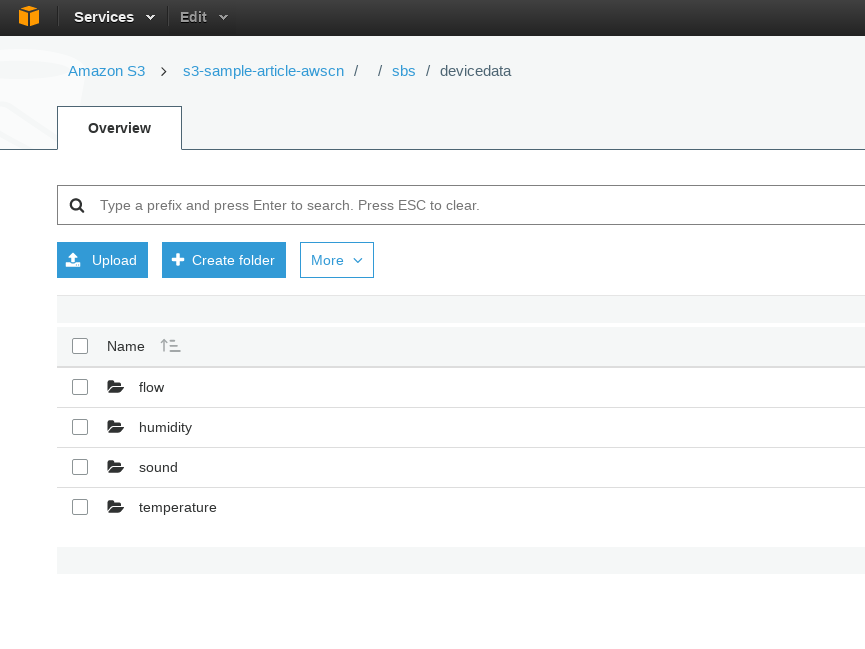
Depending on the amount of information that is being sent to the IoT service, the first data might take a pair of minutes to appear inside the S3 Bucket.
You can go to the S3 service, click on the S3 Bucket and you should see something as the following:
End of the Part 2
Until now we have an IoT Device sending data to the AWS IoT Service in JSON format using MQTT. This information is then directed to an S3 Bucket for storage.
In the next article I will descrive how to create an Amazon Redshift database and how to configure S3 and Redshift to share it’s data.